WHEN AND HOW TO UPGRADE TO A LARGER TANK

Telltale Signs It Is Time to Upgrade Your Aquarium
Determining the precise moment to upgrade your tank is both an art and a science. While impulse purchases at the local fish store are common, upgrading should ideally be driven by the physiological and behavioral needs of your aquatic livestock. Pushing a tank past its biological capacity inevitably leads to chronic stress, disease outbreaks, and unexpected fish loss.
The primary signal that your tank is oversized for its volume is difficulty maintaining stable water quality. As fish grow, their metabolic output increases exponentially. If you find yourself performing massive 50% water changes twice a week just to keep nitrates below 40 ppm, your biological filter is struggling to keep pace with the waste load. To better understand how waste management impacts your system, review our article on the dangers of high ammonia, nitrite, and nitrate.
Here are the clear indicators that your current tank setup has reached capacity:
- Excessive Aggression and Territorial Chasing: Fish that previously coexisted peacefully may begin nipping fins or claiming entire corners of the tank as available swimming room shrinks.
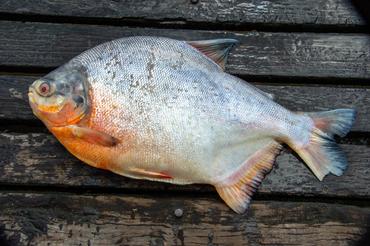
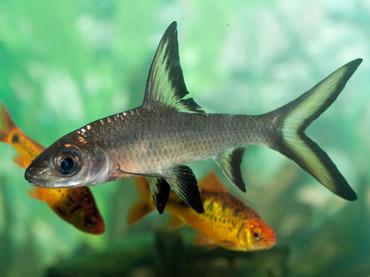
- Stunted Growth or Physical Space Limitations: Fast-growing species like Common Plecos (Hypostomus plecostomus), Bala Sharks (Balantiocheilos melanopterus), and Silver Dollars (Metynnis argenteus) require ample open horizontal water to swim naturally. Seeing a fish constantly turn around or press against the glass indicates severe overcrowding.
- Persistent Nitrate Creep: Even with routine weekly maintenance, nitrates rapidly rebound to unsafe levels within 48 to 72 hours post-water change.
- Frequent Illness Outbreaks: Overcrowding elevates stress hormones, which suppresses the immune system of your livestock and leads to recurring cases of Ich, fin rot, or velvet.
- Unstable Water Chemistry: Smaller water volumes experience rapid swings in pH, temperature, and dissolved oxygen levels, whereas larger volumes buffer against environmental spikes.
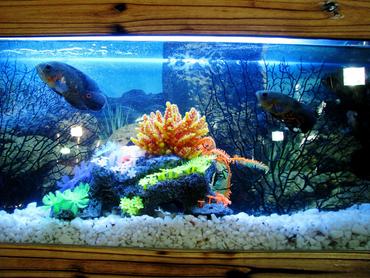
A classic real-world example involves beginner hobbyists who buy juvenile Oscar Cichlids (Astronotus ocellatus) or Redtail Catfish at 2 inches in length and keep them in a standard 20-gallon starter tank. Within six to eight months, these fish easily reach 7 to 10 inches, generating massive organic waste and requiring an immediate upgrade to a 75-gallon or 120-gallon system to prevent severe skeletal deformities and organ failure.
Choosing the Right Upgrade Size and Gear Requirements
When planning an upgrade, one of the most frequent mistakes hobbyists make is upgrading by an incremental step—such as moving from a 10-gallon tank to a 20-gallon tank. While a 10-gallon increase technically doubles your volume, the labor required to break down, move, and re-establish the tank is virtually identical to jumping directly to a 40-gallon breeder or 55-gallon system. Aiming for a jump that at least doubles or triples your current gallon capacity provides significant biological stability and gives you meaningful room for future expansion.
Upgrading your tank capacity also necessitates upgrading every piece of supporting equipment. Running equipment meant for a small tank in a larger footprint leads to dead spots, insufficient filtration, and dangerous cold zones.
- Filtration Systems: A filter rated for a 20-gallon tank cannot process the flow rate or house the biological media needed for a 55-gallon tank. Transitioning to heavy-duty hang-on-back (HOB) filters or external canister filters (such as Fluval 07 series or Eheim Classic series) ensures an hourly turnover rate of at least 4 to 6 times the total tank volume.
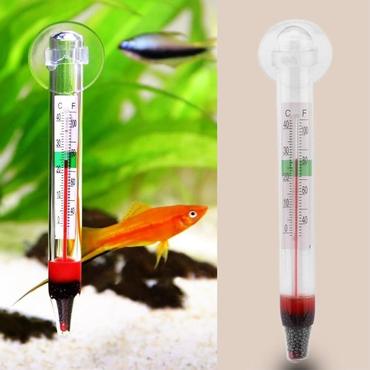
- Heater Wattage: The rule of thumb for aquarium heating is roughly 3 to 5 watts per gallon of water. If you upgrade from a 20-gallon tank with a 50W heater to a 75-gallon tank, you will need a 250W to 300W heater—or ideally, two smaller heaters (e.g., dual 150W heaters) placed at opposite ends of the tank for redundant heating safety.
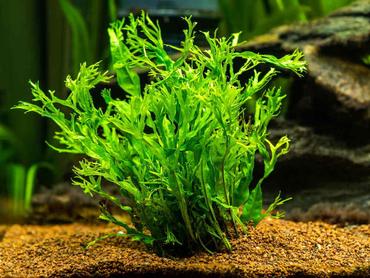
- Lighting Units: Broader, deeper tanks require stronger light penetration, especially if you plan to keep live aquatic plants like Anubias, Amazon Swords, or Java Fern. LED light fixtures with programmable spectrums allow you to tailor light output while curbing nuisance algae growth.
- Structural Support and Substrate: Water weighs approximately 8.34 pounds per gallon. A fully decorated 75-gallon aquarium with substrate, rocks, and water can easily exceed 850 pounds. Ensure that your floor structure can handle the weight and that you invest in a dedicated, level aquarium stand rather than standard household furniture.
Step-by-Step Guide: How to Safely Transfer Your Setup
The transition day is the most critical phase of upgrading. The goal during a tank swap is simple: preserve your established biological filter colony while minimizing physical stress on your fish. Beneficial nitrifying bacteria reside primarily on porous surfaces—such as filter sponges, ceramic rings, substrate, and bio-balls—rather than floating in the water column itself.
Follow this step-by-step checklist to execute a seamless, low-stress transfer:
Step 1: Pre-Fill and Leak Test the New Tank
Place the new aquarium on its level stand in its permanent location. Fill it with tap water and run a leak check for 24 hours. Once verified, drain the water or treat it with a high-quality water conditioner (such as Seachem Prime) to neutralize chlorine and chloramines. Bring the water up to the exact target temperature using your new heater.
Step 2: Seed the New Biological Filter
To avoid starting the nitrogen cycle from scratch, transfer your existing filter media directly into your new filter system. If you are switching filter styles, run your old filter alongside the new filter for 3 to 4 weeks, or stuff your old filter pads directly into the media baskets of the new canister filter. For a refresher on establishing nitrogen cycles properly, read our breakdown on the process of cycling a fish tank.
Step 3: Transfer Substrate and Hardscape
Carefully move existing hardscape elements like driftwood, slate, and ceramic caves directly into the new aquarium without letting them dry out. Microscopic bacterial colonies blanket these surfaces. If you are reusing gravel or sand, gently scoop it out and transfer it over; if using brand-new substrate, scoop a few cups of established substrate into mesh media bags and place them inside the new tank for two weeks to seed the new bed.
Step 4: Safely Catch and Acclimate Livestock
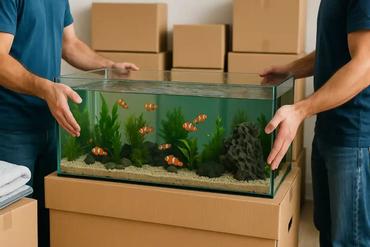
Turn off all aquarium lights and equipment in the old tank to reduce stress. Drain 50% of the old tank water into clean, food-safe 5-gallon buckets. Net your fish gently and place them into these buckets. Add a battery-operated air stone to each bucket to maintain oxygenation. Acclimate the fish to the new tank parameters using the drip acclimation method over 30 to 45 minutes, matching temperature and pH precisely before netting them into their new home.
- Avoid This Common Mistake: Never rinse your existing filter media or substrate under cold municipal tap water during a move. The chlorine and chloramines present in tap water will instantly eradicate your beneficial bacterial colonies, causing a catastrophic ammonia spike in your new setup. Always rinse filter media in saved aquarium water.
Fish Compatibility and Stocking Considerations in a Larger Tank
One of the most thrilling aspects of moving to a larger aquarium is the expanded footprint, which unlocks brand-new opportunities for stocking and social behaviors. However, more space does not completely eliminate compatibility issues, and improper stocking can quickly ruin a newly upgraded system.
When moving existing livestock into an expanded footprint, behavioral dynamics shift. Territorial species that were previously restricted to tight boundaries may expand their territories, or conversely, become much more docile once provided adequate visual barriers and swim paths.
Consider these key strategies when expanding your aquatic community:
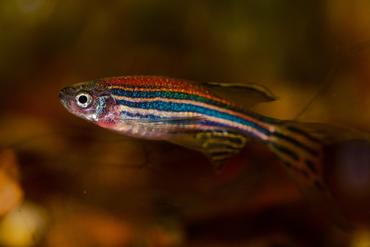
- Strengthen Existing Schools: Schooling fish like Neon Tetras (Paracheirodon innesi), Harlequin Rasboras (Trigonostigma heteromorpha), and Zebra Danios (Danio rerio) exhibit true tight-schooling behaviors only when kept in groups of 10 to 15 or more. Rather than buying single individuals of many different species, bolster the numbers of your existing schooling fish.
- Utilize All Water Columns: Divide your new tank layout vertically into bottom, middle, and top zones. Balance bottom-dwellers like Corydoras Catfish (Corydoras paleatus) or Kuhli Loaches (Pangio kuhlii) with mid-water swimmers like Angelfish (Pterophyllum scalare) or Gouramis, and surface-dwelling species like Marble Hatchetfish (Carnegiella strigata).
- Rearrange Sightlines for Aggressive Species: If you keep semi-aggressive fish like German Red Peacock Cichlids or Dwarf Gouramis, introduce dense tall plants, tall rock stacks, or large pieces of Malaysian driftwood to break line-of-sight. This prevents dominant alpha fish from cornering weaker tankmates.
- Avoid Sudden Bio-Load Overloads: Resist the urge to fully stock your upgraded tank on day one. Even though you transferred established filter media, your biological system needs time to scale up its bacterial population. Add new fish gradually in small groups every 10 to 14 days.
Before purchasing new tankmates for your upgraded display, check out our comprehensive guide to community fish compatibility to ensure water parameters and temperaments match.
Post-Transfer Care and Troubleshooting Common Upgrade Hiccups
The first two weeks following a tank upgrade are critical to long-term success. Even with meticulous execution, mini-cycles can occur as the bacterial colony adjusts to new water volume, substrate depth, and flow patterns.
Implement a daily testing schedule using a liquid master test kit during the initial fortnight. Monitor for the following indicators and react promptly:
- Ammonia or Nitrite Spikes: If your test kit reveals trace amounts of ammonia or nitrite (above 0.25 ppm), perform immediate 25% to 30% water changes and dose the tank with a concentrated water conditioner that temporarily detoxifies free ammonia, such as Seachem Prime.
- Cloudy Water (Bacterial Bloom): A milky cloudiness in the first few days is extremely common. This is caused by heterotrophic bacteria rapidly multiplying in the water column. Do not panic or perform excessive water changes; the cloudiness will naturally clear within 3 to 5 days as the ecosystem balances.
- Stress Symptoms in Livestock: Watch for fish showing signs of elevated stress, such as rapid gill movement, lingering near the surface, loss of vibrant color, or rubbing against substrate ("flashing"). Ensure your aeration is high, as warmer water holds less dissolved oxygen.
- Algae Outbreaks: Fresh substrate and clean glass exposed to high lighting can trigger green spot or hair algae blooms. Limit your photoperiod to 6 to 7 hours daily until plants establish root systems and outcompete algae for nutrients.
Final Takeaways: Upgrading Your Aquarium for Long-Term Success
Upgrading your aquarium is an exciting step forward in your fishkeeping journey. By correctly identifying when your fish need more room, selecting the proper equipment upgrades, preserving your precious bio-filtration during the transfer, and stocking your expanded water column thoughtfully, you set your aquatic ecosystem up for years of thriving health and stability.
Remember that patience is your greatest tool during any aquarium transition. Rushing the process, skipping water testing, or overstocking immediately after setup are the leading causes of post-upgrade failures. Give your biological filter and your fish time to settle into their spacious new home.
Have you recently upgraded your aquarium or are you planning a big jump in tank size soon? We would love to see your progress! Visit RateMyFishTank.com to upload photos of your new setup, receive feedback from experienced hobbyists, and explore our extensive library of guides covering aquascaping, water chemistry, and species care.

MOST RECENT ARTICLES